
Are you a beginner musician looking to learn how to create music notes using a keyboard? Are you interested in taking your musical skills to the next level? If so, this blog post will be perfect for you! In this easy-to-follow guide, we’ll be showing you how to create music notes with just a few simple steps. Also, grab your keyboard, and let’s get started!
Table of Contents

Understanding Pitch and Volume
Understanding Pitch and Volume:
One of the most essential elements to writing music is understanding the pitch and volume of different notes. When you play a note on your keyboard, it makes an audible sound. The pitch of that sound tells you how high or low that note is in comparison to others on the instrument. The volume tells you how loud or soft the sound is relative to other instruments in the same key. Knowing these basics will help you write better melodies and chords.
Basic Piano Note Theory
Piano note theory is a critical part of learning how to create music notes using a keyboard. Knowing the different notes and how to play them correctly is essential for any musician. In this section, we will discuss the different notes on the keyboard and their corresponding pitch.
Its frequency determines the pitch of a note. The higher the frequency, the higher the pitch of the note. The range of frequencies that a note can play on a keyboard is called its range. The notes in the middle of the keyboard, called middle C, have a frequency of 440 Hz. All other notes have a frequency that falls within one octave of middle C. For example, the frequency of A (440 Hz) is two octaves lower than middle C (880 Hz).
There are twelve notes in an octave, and each note has a corresponding letter on the keyboard. The letters A-G are located at the bottom of the keyboard, and H-O are located at the top of the keyboard. The letters P-Z are located in between A and G, and they correspond to the notes B-D, E-G, and J-L.
To play a note on your keyboard, you first need to find its corresponding letter on the keyboard. Then, you need to find its position on the keyboard. Its key signature determines the position of a note on the keyboard. A key signature is a set of symbols that indicate which notes in an octave are played with which fingers. The key signature for middle C is C Major with no sharps or flats (or both). This means that all notes in middle C are played with your index finger (the first finger on your left hand).
To play a note in another key, you first need to transpose it up or down an octave using one of two methods: transposition keys or chord boxes. Most keyboards find Transposition keys and allow you to quickly change an instrument’s pitch by pressing one or more keys. Some keyboards find Chord boxes and allow you to easily create chords and arpeggios by pressing one or more keys.
Once you have found a note’s position on the keyboard and its corresponding letter, you can start playing it by pressing its corresponding key on your keyboard. To play a note two octaves higher than its original position, press the key twice as hard as you would need to press to play the note in its original position. To play a note two octaves lower than its original position, press the key half as hard as you would need to press to play the note in its original position.
There are a few other things to keep in mind when playing music on a keyboard. First, be sure to keep your fingers relaxed and evenly spaced. Second, use your wrists and hands to create a smooth flow from one note to the next. And finally, use modulation effects (such as vibrato) to enhance the sound of your notes.
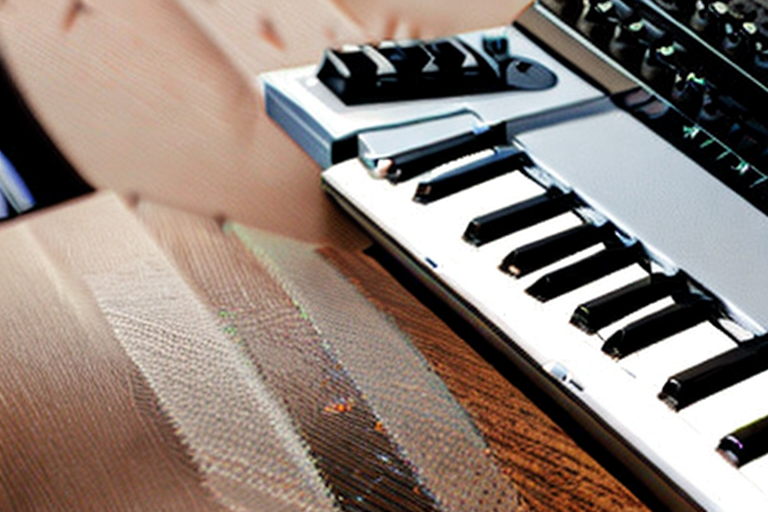
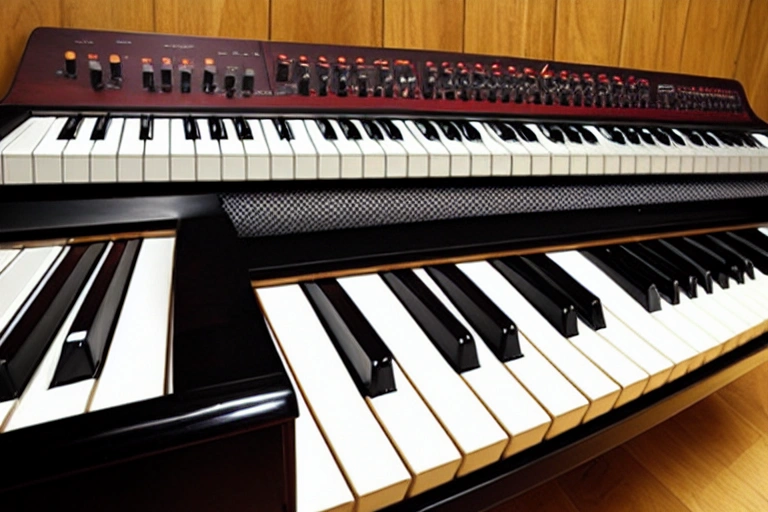
Parts of a Keyboard
There are a number of different parts of a keyboard that you will need to be aware of in order to create music notes. The keyboard has six octaves, each with 24 notes. Each key on the keyboard corresponds to a specific note on the octave. Below are the different parts of the keyboard and their corresponding notes:
- The white keys (A-G) are located at the bottom of the keyboard and correspond to the notes C, D, E, F, G, A.
- The black keys (H-N) are located above the white keys and correspond to the notes B, C, D, E, F, G, A.
- The number keys (1-6) are located in the center of the keyboard and correspond to the notes 1, 2, 3, 4, 5, 6.
- The shift keys (7-9) allow you to play two notes at once by pressing both keys at the same time. For example, if you press 7 and 8 together, you will play the note C# (D#).
- The control keys (0-9) allow you to change the pitch of your note or to modify other musical parameters such as volume or modulation effects.
Choosing the Right Octave for Your Music
Understanding Octaves and How They Relate to Music
Choosing the Right Octave for Your Music
When it comes to playing music, it’s important to choose the right octave. Octaves are the divisions of a keyboard that correspond to musical notes. Each octave has a different pitch, which is why it’s important to choose the right one when playing music.
There are twelve octaves on a keyboard, numbered from one (1) to twelve (12). The first octave is located at the bottom of the keyboard, and the last octave is located at the top. The other eleven octaves are numbered from one-half (1/2) to eleven (11).
When choosing an octave, it’s important to understand how they relate to music. The octave is divided into twelve notes, which are numbered from one (1) to twelve (12). The notes in an octave are spaced evenly apart, which is why they’re called “equal tempered. This means that the frequencies of the notes in an octave are the same.
For example, the note that’s located at the bottom of the keyboard (in octave one) is called “one” or “1. The note that’s located at the top of the keyboard (in octave twelve) is called “eleven. The frequency of one (1) is twice as high as the frequency of eleven (11). This means that when you play music, you should play notes in an octave that’s two notes above the note that you’re playing.
For example, if you want to play the note that’s located in octave two (2), you should play the note that’s located in octave one (1).
Identifying the Range of Your Keyboard
When it comes to creating musicnotes on a keyboard, you have a few options. You can use the octave buttons on your keyboard or you could use the keys on the upper row of your keyboard.
There are different types of octaves that correspond to different ranges of notes in music. If you’re not sure what an octave is, don’t worry- we’ll explain shortly.
There are also different types of keyboards with varying numbers of octaves. You’ll want to choose an instrument that has the range of notes that you want to be able to play comfortably.
Adjusting the Octave Setting on Your Keyboard
When creating music, it is important to be aware of the octave range your keyboard can produce. This will allow you to create music that sounds natural and in tune with other instruments.
To identify the octave range of your keyboard, first determine the key you are playing in. This can be done by looking at the key signature or by finding the letter on the keyboard that corresponds to the note you are playing.
Once you have determined the key, look for the octave number on your keyboard. This number will be either on a sticker or printed on a small plate located near the octave buttons.
Now that you have identified the octave range of your keyboard, it is time to adjust the octave setting. To do this, locate the octave button and press it down. This will lower the pitch of the notes in that octave by one semitone.
If you want to raise the pitch of a note in an octave, you will need to press the octave button again and then press the note you want to raise the pitch of.
Playing Music in Different Octaves
There is no one “correct” octave to play music in – it’s simply a matter of personal preference. However, if you want to play your music in an octave different from the one specified by your keyboard, there are a few things you can do to adjust your settings.
First, check the octave setting on your keyboard. Most keyboards have an octave range of 1-8, with 1 being the lowest and 8 being the highest note. If you’d like to play music in an alternate octave (e.g., 3), you’ll need to change your settings accordingly.
To adjust your keyboard’s octave range:
- Open the main menu by pressing any key on the keyboard.
- Select “Settings” from the menu options.
- Click on the ” octave range” tab.
- Enter the number of your desired octave in the “Octave” field, and click on “OK.”
- Your new octave range will be applied, and you’re ready to start playing!
Playing Different Notes on Your Keyboard
If you want to create music with your keyboard, there are a few things you need to understand. Pitch and volume are two essential concepts when it comes to making music. Pitch is what we hear as sound, and it corresponds to the frequency of a note. Volume is how loud or soft a note sounds.
To make music on your keyboard, each key on the keyboard has its own set of notes. The higher numbered keys represent higher pitches, and the lower numbered keys represent lower pitches. If you want to play a C Major chord on your piano, for example, you would start by playing the C key on the Piano (1st key), then play the G key next (2nd key), then play the B-flat minor third (3rdkey) and finally hit the A-key (4th key).
When looking at a musical score or sheet music, different types of notation will be used to indicate which notes should be played where. This is calledNATURAL NOTATION-. 1st position means that the note is written in octave one above middle C on your Piano Keyboard, 2nd position means that it’s written two Octaves Above Middle C and so forth. This system can get confusing if you’re not familiar with it, so it’s always best practice to either look up specific notes during rehearsals or use MUSIC MANAGEMENT SOFTWARE TO KEEP TRACK OF WHICH NOTES ARE PLAYED WHEN!
Enhancing Your Notes with Modulation Effects
Adding Vibrato to Your Notes
Adding vibrato to your notes can add a sense of realism and depth to your playing. There are several ways to add vibrato to your notes, and the effect can be adjusted to suit your needs.
One way to add vibrato is to use a tremolo effect. Many music software programs find Tremolo effects, and they work by cycling through different frequencies. This can create a sense of vibrato in your notes.
Another way to add vibrato to your notes is to use a pitch shifter. A pitch shifter can be used to change the pitch of a note, which can create a sense of vibrato.
Both of these methods require some skill and practice, but they can be very effective in creating a sense of vibrato in your notes.
Creating a Portamento Effect
Adding modulation effects to your notes can transform them from static, one-dimensional symbols into expressive three-dimensional objects. By inserting vibrato, tremolo and other types of effects, you can create a wide range of melodic sounds. Here are three techniques for adding modulation to your notes:
- Insert Vibrato: Vibrato is an effect that simulates the wavering or pulsating sound of a musical instrument, such as a violin or cello. Select the desired key on your keyboard to insert vibrato into your note sequence and then use the Modulation Wheel (M) for cycling through the available frequency ranges. Keep in mind that vibrato will add emphasis to notes that are played louder and softer simultaneously, so you’ll want to adjust the intensity accordingly.
- Use Tremolo: Tremolo is a very popular modulation effect that creates the impression of a continuous variation in volume or pitch. To use tremolo, select the desired key on your keyboard and then use the Modulation Wheel (M) for cycling through the available amplitude levels. Remember that tremolo will emphasize notes that are played louder and softer simultaneously, so you’ll want to adjust the intensity accordingly.
Create an Octave Effect: octave effects are used to change a single note up or down an octave, producing different sounding results depending on which octave range you choose to affect. To create an octave effect with your keyboard, select the desired key on your keyboard and then use the Octave Up or Octave Down buttons (O) to cycle through the available octave ranges.
Adding Tremolo to Your Notes
Adding modulation effects to your notes can give them a unique and more powerful sound. Tremolo is a common modulation effect that creates a pulsing or shaking effect on the notes. You can use tremolo to add a sense of excitement or energy to your music.
First make sure that your keyboard’s settings enable the modulation effect. Then, use the modulation wheel to select the desired rate of tremolo. You can also use the pedalboard to control the rate of tremolo.
Using an Arpeggiator to Create Modulation Effects
When it comes to enhancing your notes with modulation effects, there are a number of options available. One common type of modulation effect is the arpeggiator. While an arpeggiator may not be the most original way to enhance your notes, its simplicity can make it a potent tool when used correctly. In this article, we’ll take a look at how to use an arpeggiator to create modulation effects in your music.
Creating Chords and Arpeggios with Multiple Keys
If you want to get really creative with your music, it’s important to be able to transcribe notation into actual music. Notation is a universal language that describes notes on a staff using lines, circles, and other symbols. When you’re able to write out notations for the various melodies and chords that are flowing through your head, you can easily pad them out into full songs or arrangements.
There are a number of different notation software programs available online or in the store, but whichever one you choose, make sure that it has a strong chord recognition feature. This will allow you to quickly input chord progressions and figure out which chords go together. Once you have all of your notation down, it’s time to start tracking vocal tracks and instrumental parts!
Transposing Music Easily Between Instruments
One of the most important skills a musician can have is knowing how to transpose music easily between different instruments. In this section, we’ll show you how to do just that.
Using Notations to Track and Record Musical Ideas
If you’re looking to record or track your musical ideas, it’s important to have a system in place for notating them. There are a number of different notation software programs available, and each has its own advantages and disadvantages. Ultimately, the most important thing is to find one that works well for you and helps you quickly and efficiently capture your ideas.
Writing music notes on a keyboard can feel like a daunting process for those who are new to it, but with practice and a basic understanding of the necessary parts of music theory, anyone can create beautiful melodies. This article has walked you through all the steps needed to get started writing your own music using notes on a keyboard – no matter if you’re an amateur musician or have years of experience.
With these easy-to-follow instructions, producing engaging and unique soundscapes is within everyone’s reach! To learn more about creating digital music with modern technology and instruments, check out our other content here at MusicBytes!
