
Are you looking to build your own PC for music production? Look no further! In this guide, we’ll walk you through the process of building a powerful, optimized PC that will take your music production to the next level. We’ll cover everything from selecting the right hardware components to optimizing performance and troubleshooting common issues. Whether you’re a beginner or an experienced producer, this guide has got you covered. So, let’s dive in and learn how to build your own PC for music production!
Table of Contents

Planning Your Music Production PC Build
Before you start building your music production PC, it’s essential to understand your needs and select the right hardware components. By doing so, you can ensure that your computer is optimized for music production and can handle the processing power required by your software.
Understanding Your Needs
The first step in planning your music production PC build is to understand your needs. Consider the type of music production work you will be doing. Will you be recording live instruments, using virtual instruments, or both? Which software programs will you be using? Answering these questions will help you determine the hardware components you need.

Selecting Hardware Components
Once you have a clear idea of your needs, you can start selecting hardware components. Here are some essential hardware components you need for your music production PC:
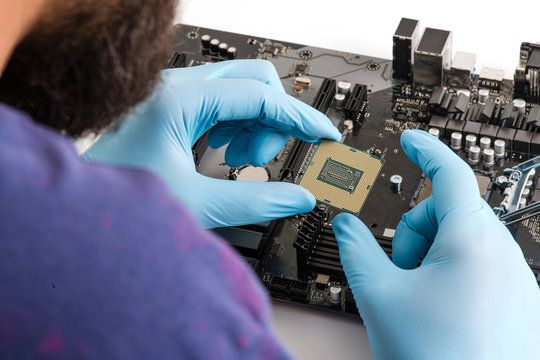
- Processor (CPU): The CPU is the brain of your computer and handles all the processing tasks. For music production, a powerful CPU is necessary. We recommend using an AMD Ryzen 9 or Intel Core i9 for maximum performance.
- Motherboard: The motherboard is the backbone of your computer and connects all the components. Select a motherboard that is compatible with your CPU and has enough slots for your RAM and other components. Consider the number of USB ports and audio outputs available when selecting a motherboard.
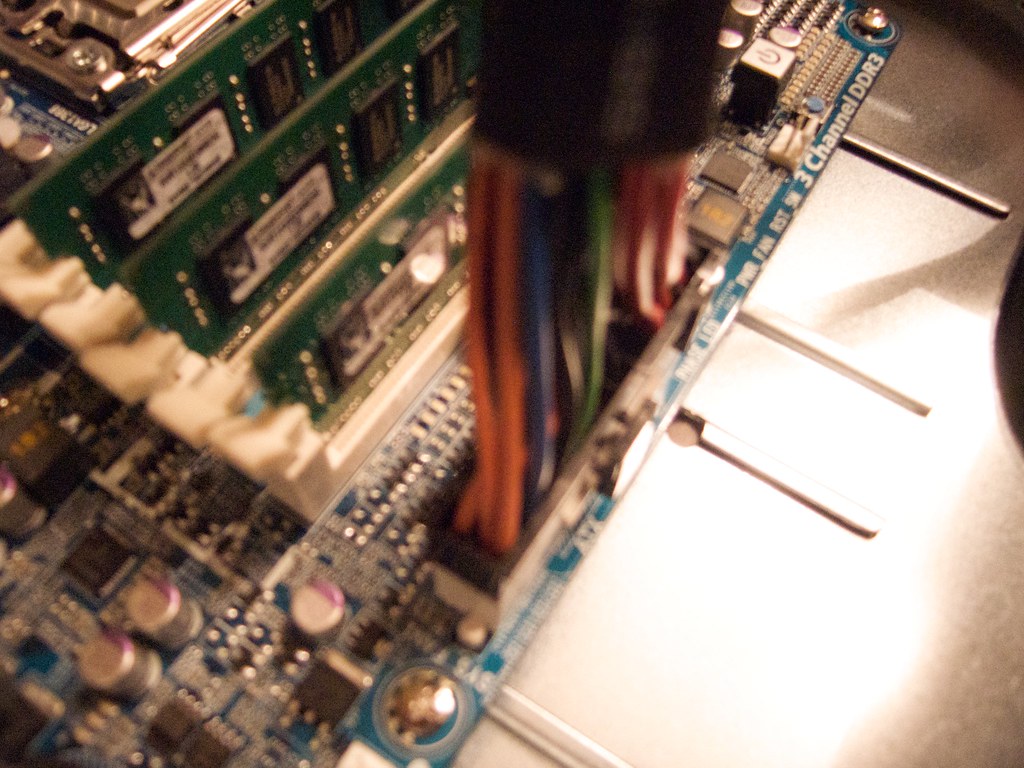
- RAM: RAM is essential for running multiple applications simultaneously. For music production, a minimum of 16GB of RAM is recommended. Consider using a separate Solid State Drive (SSD) for your samples and plugins.
- Storage: You need fast and reliable storage for your music production PC. We recommend using a Solid State Drive (SSD) for your operating system and a large Hard Disk Drive (HDD) for storing your music files.
- Graphics Card (GPU): Although a GPU is not essential for music production, it can be helpful for rendering and video editing tasks. We recommend using a mid-range GPU like the NVIDIA GeForce GTX 1660.
- Power Supply Unit (PSU): A high-quality power supply unit is essential for a stable and reliable PC. Select a PSU that can handle the power requirements of your components, and avoid using cheap or generic power supplies.

Building Your Music Production PC
After selecting your hardware components, building your music production PC is the next step. Here are the steps you need to follow:
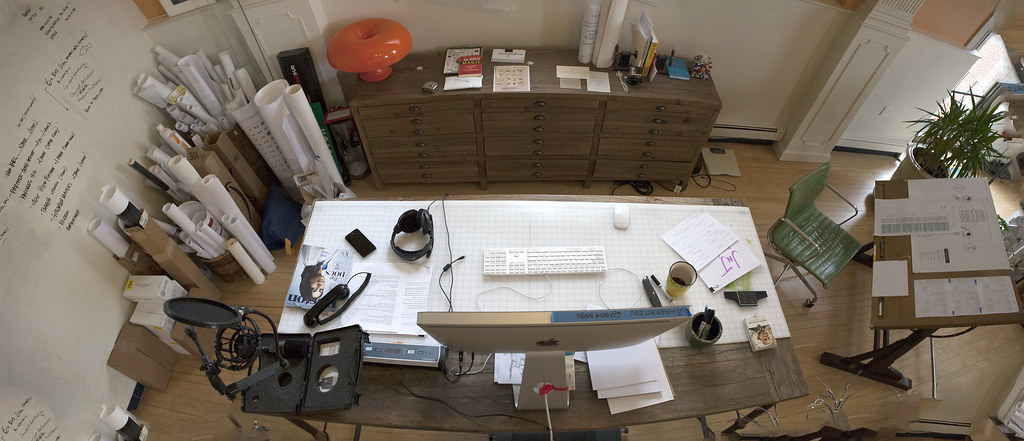
Preparing Your Workspace
Before you begin building your music production PC, make sure to prepare a clean and organized workspace. You will need a large table or desk to work on, as well as a comfortable chair. Ensure that you have all the necessary tools, including a screwdriver, pliers, and cable ties.
Installing Hardware Components
The first step in building your music production PC is to install the CPU on the motherboard. Carefully follow the instructions in the manual, and ensure that you apply thermal paste to the CPU before installing the CPU cooler.
Next, install the RAM in the appropriate slots on the motherboard. Ensure that the RAM clicks into place and locks securely.
Install the storage drives in the appropriate bays in your PC case. Connect the SATA cables to your motherboard and power supply.
Install the GPU in the appropriate PCIe slot on your motherboard. Ensure that the GPU clicks into place and locks securely.
Finally, connect the power supply cables to your motherboard, storage drives, and GPU. Ensure that all the cables are connected securely and neatly tied.
Connecting Components and Testing
Once you have installed all the hardware components, it’s time to connect and test your music production PC. Connect your monitor, keyboard, and mouse to your PC. Ensure that all the components are connected to the power supply and turned on.
Press the power button on your music production PC and check if it boots up properly. If everything is working correctly, you can then install your operating system and music production software.

Optimizing Your Computer Performance for Music Production
After building your music production PC, it’s crucial to optimize its performance for music production. There are several things you can do to make sure your PC is running at maximum efficiency. Here are some tips to help you get started:
Updating Drivers and Software
Keeping your drivers and software up-to-date is essential for your music production PC. It ensures that you have the latest features, bug fixes, and compatibility with the latest software. Check the manufacturer’s website for any updates for your hardware components and software.
Tweaking Windows Settings
Tweaking the Windows settings can help you get the most out of your music production PC. The following settings are recommended:
- Disable unnecessary startup programs: Reducing the number of programs that run at startup can help your PC boot faster and reduce the load on your system.
- Adjust the power settings to high performance: Adjusting the power settings to high performance mode can provide a noticeable increase in performance, but it may also increase power consumption.
- Disable unnecessary visual effects: Disabling unnecessary visual effects can help reduce the load on your graphics card and improve overall system performance.
- Disable notifications and alerts: Disabling notifications and alerts can help reduce distractions and free up system resources.

Overclocking
Overclocking your CPU and GPU can provide a significant boost to your music production PC’s performance. However, it’s crucial to note that overclocking can also increase the temperature and shorten the lifespan of your components. If you decide to overclock, make sure to do thorough research, follow the instructions carefully, and monitor your system’s temperature to prevent damage.

Troubleshooting Common Issues with Music Production PCs
Despite having the best hardware components and optimization, issues may still arise with your music production PC. You can resolve these issues by following these tips:
Adjusting Latency Issues
If you’re experiencing latency issues when recording live instruments, try adjusting the buffer size in your music production software. Changing the buffer size can help reduce the delay between recording and playback, resulting in a better recording.
Removing Noise or Interference in Recordings
If you’re hearing unwanted noise or interference in your recordings, ensure that your music production PC is grounded correctly. You can also try using a noise gate or noise reduction plugin to remove unwanted noise from your recordings.
Updating Drivers and Software
If your music production PC is crashing or freezing frequently, try updating your drivers and software. Outdated software and drivers can cause problems with your PC’s performance, resulting in crashes and freezes. You can also run diagnostic software to identify any hardware issues and address them.
By promptly addressing common issues and troubleshooting them, you can ensure that your music production PC is running smoothly and reliably.

Budget-Friendly Music Production PC Builds
Building a music production PC can be expensive, but there are budget-friendly options available. If you are on a tight budget but still want to build a PC optimized for music production, here are some recommended budget-friendly components to consider:
-
CPU: Instead of going for the latest and most powerful CPU, you can choose a mid-range processor such as AMD Ryzen 5 or Intel Core i5. These CPUs offer sufficient power to run most music production software without breaking the bank.
-
Motherboard: Opt for a budget-friendly motherboard such as B450 or H310. These motherboards provide basic features and are compatible with mid-range CPUs.
-
RAM: While 16GB or more RAM is ideal for music production, you can start with 8GB DDR4 and upgrade later. This is a great way to save money upfront while still getting decent performance.
-
Storage: For a budget-friendly build, consider a combination of a 240GB SSD and a 1TB HDD. You can install your operating system and music production software on the SSD for faster boot and load times, while using the HDD for storage of larger files such as audio samples and project files.
-
GPU: The NVIDIA GeForce GTX 1650 is a great budget-friendly graphics card that provides decent graphics performance without breaking the bank. While a high-end graphics card is not essential for music production, having a dedicated GPU will help in tasks such as video rendering.
-
PSU: Opt for a 500W power supply unit (PSU) that provides enough power for your budget-friendly components.
Building a budget-friendly music production PC is similar to building a high-end PC. The only difference is that you need to select budget-friendly components. With the right components and a bit of planning, you can build a music production PC that meets your needs and your budget.
Conclusion
In conclusion, building your own PC for music production is a great way to get maximum performance while saving a lot of money. By following the steps in this guide, you can select the perfect hardware components that match your specific needs and build a computer that is optimized for music production.
To ensure that your computer is running smoothly, be sure to update your drivers and software regularly, tweak your Windows settings, and consider overclocking to give your system an extra boost.
If you encounter any common issues, don’t hesitate to troubleshoot them. You can also consider building a budget-friendly music production PC if you’re on a tight budget.
We hope this guide has helped you build your own music production PC. If you have any questions or would like to learn more about our other helpful guides, be sure to check out our website. Happy building!
