Are you a musician who is looking to create high-quality recordings without breaking the bank? If so, you’re in luck! In this blog post, we’ll show you how to set up a sound studio on a budget. You’ll learn how to get the most out of your equipment and achieve professional-level results without spending a fortune. So, if you’re ready to get started making great music at home, keep reading!
- Identifying Necessary Equipment
- Assessing Your Space
- Creating the Acoustic Environment
- Investing in Quality Audio Gear
- Choosing the Right Monitors and Speakers
- Picking Out Microphones and Accessories
- Setting Up Recording Software
- Soundproofing Strategies on a Budget
- Lighting Considerations for a Studio Setup
- Organizing Cables and Wires Effectively
- Maximizing Efficiency With Automation Technology 12- Creating an Atmosphere of Inspiration

Identifying Necessary Equipment
If you want to set up a sound studio on a budget, there are a few key pieces of equipment you’ll need. The first is a good microphone, and the second is a recording interface. A good microphone will cost anywhere from $50 to $500, while a recording interface will run you about $100. You’ll also need some software to record your audio, and that can cost anywhere from $30 to $100. Finally, you’ll need some speakers or headphones to listen to your recordings. A set of speakers will run you about $50, while a set of headphones will cost you about $100.
Assessing Your Space
When setting up a sound studio, it is important to assess your space and purchase the necessary equipment. The following are some tips to help you get started:
- First, identify the areas in your home where you would like to set up your studio. This will help you determine the size and layout of your studio.
- Next, decide what type of equipment you will need. You can purchase a sound studio kit or build your own.
- Finally, assess your budget and purchase the necessary equipment.

Creating the Acoustic Environment
Creating the acoustic environment in your home or studio can be a daunting task, but with a little planning and some basic equipment, you can get started.
First, assess your space. Do you have a large room with plenty of walls and ceilings to absorb sound? Or are you working in a small space with limited options? Second, consider your equipment. Do you have a computer with audio capabilities? Or are you looking to invest in more specialized equipment, like recording studios or acoustic treatment systems?
Finally, think about what type of music you want to create. Do you want to record acoustic versions of your favourite songs or create your own original compositions? Once you have answered these questions, it’s time to start planning your acoustic environment!
Investing in Quality Audio Gear
Identifying Your Needs
If you’re serious about creating great-sounding music, you’ll need to invest in quality audio gear. Here are some things to keep in mind when choosing what to buy:
-
Size and Space: The first thing to consider is the size and space of your studio. You don’t want to be cramped up, so make sure your gear is compact enough to fit in your space.
-
Levelling and Acoustic Treatment: Next, you’ll need to level your studio and install acoustic treatment if necessary. This will help to reduce noise and improve the sound quality of your recordings.
-
Inputs and Outputs: Make sure you have enough inputs and outputs so you can connect all of your gear easily. This will help to minimize the amount of time you spend switching between devices.
-
Sound Quality: The last thing to consider is the sound quality of your gear. Make sure to choose products that will produce high-quality sound. This will ensure your recordings are accurate and pleasing to the ear.
Choosing Your Equipment
When starting out in the audio industry, it’s important to make sure you invest in quality gear. This doesn’t mean shelling out for the most expensive equipment; rather, make sure you are investing in things like good recording microphones and audio interfaces that will give your recordings a professional sound.
When choosing your microphone, it’s important to consider how much noise your voice will create. Cheap microphones tend to be less resistant to noise and can end up picking up more background sounds than is desirable. Try using a clip-on microphone or investing in a better option like a figure-eight mic. It’s also worth taking into account what format your recordings will be converted to arbitrary formats like MP3 can often result in poorer sound quality.
When it comes to audio interfaces, you’ll want to make sure the one you choose has enough inputs and outputs. It’s also important to find an interface that is compatible with the software you’ll be using to record and mix your tracks. A good rule of thumb is to buy an interface that allows for up to 24-bit/96kHz recording.
Finding Affordable Options
Investing in quality audio gear can be expensive, but there are affordable options available. By setting up a home studio, you can create high-quality recordings without breaking the bank. Here are some tips for setting up a sound studio on a budget:
- Start with the basics. You don’t need the most sophisticated equipment to start recording audio; just a computer and an audio interface capable of capturing input from microphones or instruments. A good place to start is by purchasing a basic laptop with enough power to handle your recording needs and hitting up online auction sites for creative commons microphone models that you could use for testing purposes before investing in more expensive models.
- Make use of free software and resources. There are many free audio recording and editing applications available that can help you get started, such as Audacity and Garage Band. You can also find plenty of free tutorials online to teach you the basics of audio production.
- Invest in hardware occasionally. Buying high-quality hardware isn’t always necessary to achieve great results; sometimes lower-priced options will suffice. For example, if you’re only intending to use your home studio for casual recordings of acoustic guitar or vocals, investing in a decent microphone may not be worth it.
- Purchase quality accessories gradually. Not every accessory needs to be top of the line; sometimes less expensive options will do the trick just as well. For example, buying a decent AD/DA converter rather than an expensive audiophile-grade one may be all you need to get started.
- Evaluate your needs regularly. As your home studio develops, assess what new equipment or software is necessary to stay ahead of the curve. By making regular upgrades, you’ll ensure that your recordings stay high quality for years to come.
Setting Up Your Studio
Setting up your studio on a budget can be done by using basic equipment and some creative thinking. When setting up your studio, it is important to keep in mind the acoustics of the room as this will affect how well your recordings will sound. Additionally, you’ll want to make sure that you have the quality audio gear so that your recordings sound great. Here are some tips to help you set up your studio on a budget:
When choosing where to put your studio, consider factors such as size, acoustic properties of the room, and ease of use. If space is an issue, consider using a home office or corner bedroom as a makeshift recording studio; however, beware that these spaces may not provide optimum acoustic conditions for music production. If you have a larger room, consider using it as a live room and setting up separate recording and mixing spaces.
When choosing your recording gear, it is important to consider your budget and what type of audio you are looking to produce. For basic recordings, you can use a basic microphone and audio interface. If you are looking to produce higher-quality recordings, you’ll need to invest in better equipment. Some of the best options for budget-conscious producers include a good microphone, audio interface, and recording software. When choosing these items, it is important to make sure that they have good reviews and are compatible with each other.
To maximize the quality of your recordings, it is important to set up your studio in an acoustically sound environment. To do this, you’ll need to consider the size and shape of your room, as well as the materials used in its construction. Additionally, you’ll want to make sure that all soundproofing materials are properly installed and that any acoustic treatments are in good condition.
Choosing the Right Monitors and Speakers
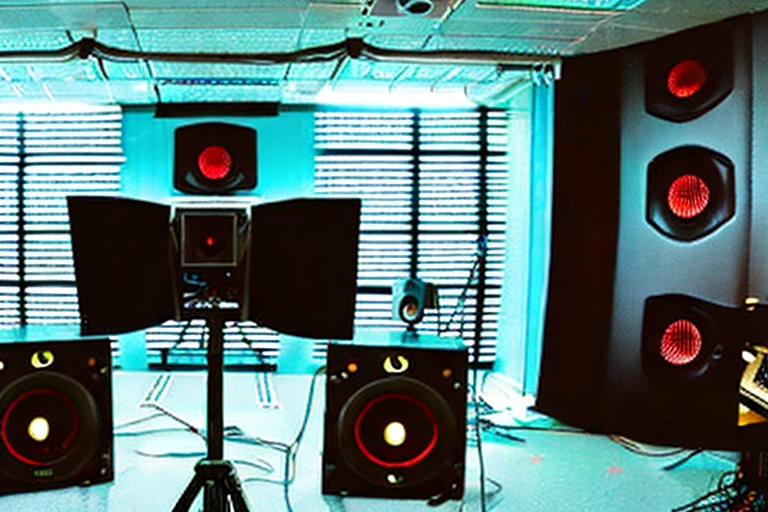
When setting up your home audio studio, you’ll need to make sure that the monitors and speakers you choose are up to the task. Here’s a rundown of some key considerations:
Monitors:
First, it’s important to decide what type of monitor you want. There are a few options available, including speakers that plug directly into your computer or music player, those that connect to your TV via an HDMI cable, and even fold-up models that can fit just about anywhere.
Speakers:
Second, you’ll need to figure out which type of speaker is best for your needs. There are three main categories of speakers – mini units (similar in size to a vitamin pill), small front-firing units (usually around five inches tall and two inches wide), and full-sized front-firing audiophile units (around twelve inches tall and six inches wide). You also have subwoofers (which go below regular speaker levels) as well as surround sound setups with multiple speakers placed around the room.
Room Size:
Finally, another important consideration is the size of your room. If your space is limited or you don’t have enough wall space for large monitors or woofers, consider smaller models instead. Additionally, if you’re planning on using acoustic treatment in the room – such as panelling or curtains – make sure that any speaker placement plans take this into account since treatments will reduce volume output from most loudspeakers by 40%.
Picking Out Microphones and Accessories
When setting up a home recording studio, one of the most important decisions is which microphones and accessories to buy. Microphones come in all shapes and sizes, and it can be hard to decide which one is right for your project.
There are a few things to consider when choosing a microphone. The type of sound you want to capture will determine what type of microphone is best for you. For example, if you want to capture a natural sound, a condenser microphone will be better than a dynamic microphone.
Another factor to consider is the price. Some microphones are more expensive than others, but they also tend to have better sound quality. If you’re on a budget, don’t worry; there are plenty of affordable microphones that still produce good sound quality.
Once you’ve decided which type of microphone is best for your project, you need to decide which accessories are necessary for it. This includes microphones stand, cables, pop filters, and audio interfaces.
One of the most important accessories for any microphone is a stand. A good stand will help keep the microphone stable while recording, which will improve the quality of your recordings.
Cables are also important for any microphone setup. They need to be long enough to reach from the microphone to the recording device, and they need to be sturdy enough not to break during use.
Pop filters are another essential accessory for any home recording studio. They help reduce background noise while recording, which will make your recordings more clear and more accurate.
Finally, an audio interface is necessary if you want to use more than one type of microphone at the same time. An audio interface will allow you to connect multiple microphones and speakers together so that you can record multiple tracks at once.
Setting Up Recording Software
If you’re just starting out and don’t have a lot of money to spend on recording software, there are a few things you can do to get started. First, you can use a free recording program like Audacity or GarageBand. These programs are easy to use and can be found on many computers.
If you want to get a little more advanced, you can purchase recording software like Pro Tools or Logic. These programs are more expensive, but they offer more features and can be used to create professional-quality recordings. If you’re just starting out, it’s probably best to stick with a free recording program first. Once you have some experience and know what you want from your recordings, you can upgrade to a more expensive recording software package.
Soundproofing Strategies on a Budget
When it comes to soundproofing an acoustic space, there are a few key steps you can take on a budget.
One important factor is the type of material you use to seal off your walls and ceiling. Choosing medium-density fiberboard (MDF) or hardboard panels will offer decent soundproofing at a fraction of the cost of more custom-made options. Be sure to buy panels that are at least 8 feet wide by 12 feet long so they cover all sides of the room.
Another inexpensive way to reduce noise in an acoustic space is by using closed cell foam insulation in strategic places around the perimeter of your room. Adding this insulation will help to deaden sound before it ever reaches your acoustic paneling or flooring surface.
Lighting Considerations for a Studio Setup
Gather the Essential Equipment
Studio lighting is essential for capturing the right sound. There are a few key pieces of equipment you’ll need to get started, and below we’ll outline what each one is and how much they’ll cost.
The first and most important piece of equipment is your soundproofing strategy. You’ll need to find a way to block out external noise so you can record without distractions. This can be done with a variety of techniques, from soundproofing the room yourself to using acoustic panels.
The second key piece of equipment is your microphone. A good microphone will capture the sound quality you’re looking for, and will usually come with a stand and cable. Prices start at around $100.
The final key piece of equipment is your computer. You’ll need to have a powerful enough machine to handle the recording and editing process, as well as enough space to store all of your recordings. A good starting price for a new computer is around $700.
Now that you’ve got the key pieces of equipment, let’s take a look at some of the essential lighting considerations for a studio setup.
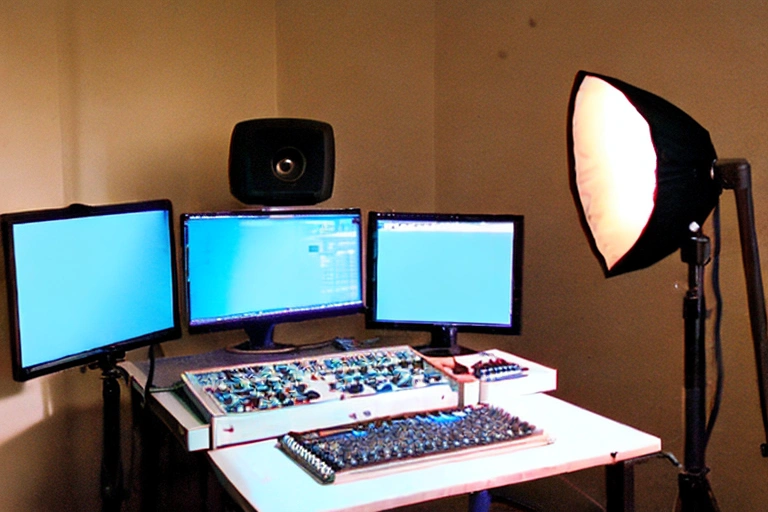
First and foremost, you’ll need to decide what type of light you want to use in your studio. Natural light is always the best option, but it can be difficult to control depending on how bright it is outside. Soft light options like florescent globes or small desk lamps are ideal for this type of setting, and will usually come with adjustable brightness.
If you don’t have access to natural light, you can also try using studio lights. These are usually more expensive than options like fluorescent globes, but they’re more versatile and can be used in a wider variety of setups. Make sure to get a light that’s the right wattage for your microphone, so it doesn’t distort the sound quality.
Finally, consider how you’ll be positioning your equipment. You’ll need somewhere to set up your computer and microphone, as well as somewhere to store all of your recordings. Try to find a spot where there’s good lighting and minimal noise distractions.
Choose the Right Space
The right space is essential for setting up a successful recording studio. Make sure to choose an area that is comfortable and conducive to creativity. You also want the space to have good natural light, which will help you create high-quality recordings. Here are some tips for choosing the right space:
*Consider your needs.*
The size of your studio will depend on the number of microphones you plan on using, as well as the type of recording you’ll be making. A small homestudio may be enough for a single vocalist or acoustic guitarist, while a larger setup may be necessary for more complex tracking sessions with multiple instruments.
- Determine how much room you have available. If you’re limited on space, consider using a soundproofing strategy like acoustic foam.
- Consider your budget. A well-maintained studio can cost anywhere from $2,000 to $25,000+ depending on the size and type of space.
- Think about what will work best for you. Don’t be afraid to make some changes once you’ve determined your space and needs!
Consider Acoustic Treatment Options
Lighting considerations for a studio setup can be extremely important in terms of creating the right sonic environment. There are a number of factors to take into account, such as the type and size of light fixtures, their placement above or around recording equipment, and the use of daylight or artificial lighting.
When it comes to choosing light fixtures, some studios may prefer high-pressure sodium lamps for their punchy output and stark shadows. Others may opt for more natural light sources like T8 fluorescents or LED panels. It’s also important to consider whether light fixtures should be located on the wall adjacent to recording equipment, near windows that provide natural sunlight, or suspended from the ceiling. In addition to choosing fixture types, it’s also important to consider the height and placement of light fixtures.
When it comes to daylight or artificial lighting, studios may opt for a combination of the two. Some studios may prefer to use daylight during the day and artificial lighting at night to create a more natural look and feel. Other studios may prefer to use artificial lighting exclusively. When it comes to choosing artificial lighting sources, studios may opt for low-wattage lamps that are less likely to cause eye fatigue or headaches.
When it comes to choosing acoustic treatment options, studios may opt for a variety of treatments, such as absorption panels, soundproofing materials, or sound isolation panels. Acoustic treatment options can be expensive, but they can make a big difference in the sound quality of a recording studio.
Utilize Budget-Friendly Recording Software
Studio lighting is one of the most important aspects of setting up a recording studio. The right light can help you capture the perfect sound, while the wrong light can ruin your recordings.
When setting up your studio, consider the type of recording you plan to make. If you’re primarily recording vocals or acoustic instruments, you’ll likely want to use natural light as your main source of illumination. If you’re recording electronic music or sound effects, however, you’ll want to use artificial light instead.
There are a number of different types of artificial light available, and each has its own benefits and drawbacks. Some of the most popular types of artificial light for recording studios include fluorescent lamps, tungsten lamps, and LED lights.
Each type of light has its own set of pros and cons. Fluorescent lamps are cheap and easy to find, but they don’t produce the best light quality. Tungsten lamps are more expensive but produce better light quality than fluorescent lamps. LED lights are the most expensive option, but they also produce the best light quality.
Once you’ve decided on the type of artificial light you’ll use, you’ll need to decide where to place it in your studio. You can place artificial lights on stands or mount them on the wall. If you’re using fluorescent or tungsten lamps, you’ll want to place them close to the source of light (usually a light bulb). If you’re using LED lights, you can place them anywhere in the studio.
One final consideration when setting up your studio is soundproofing. If you plan to do a lot of recording in one particular area of the room, you may want to consider soundproofing that area. Soundproofing can be done in a number of different ways, including using acoustic foam or drapes.
Organizing Cables and Wires Effectively
If you’re looking to start recording your own music, but don’t have the money to buy a top-of-the-line sound studio, you can still get great results by setting up a makeshift studio in your own home. Here are some tips on how to do it:
*Get a good sound card and microphone.*
The first step is to get a good sound card and microphone. A good sound card will allow you to record high-quality audio, and a good microphone will help capture the sound of your voice or instruments accurately.
*Get a good audio interface*.
**
Next, you’ll need an audio interface. An audio interface is a device that connects your sound card and microphone to your computer, and it will allow you to record audio with more accuracy and detail.
*Get a good recording software package*.
**
Finally, you’ll need some good recording software. There are many options available, but some of the best options include Audacity and GarageBand. Both of these programs are free to download and use, and they both have extensive documentation that will help you get started recording your music.
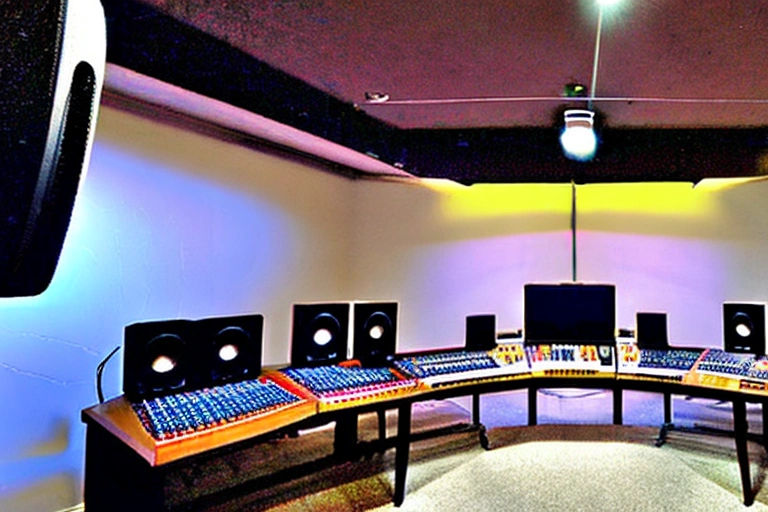
Maximizing Efficiency With Automation Technology 12- Creating an Atmosphere of Inspiration
If you’re looking to set up a sound studio on a budget, there are a few key things to keep in mind. First, make sure to organize your cables and wires effectively. Second, consider investing in automation technology to help you achieve the desired sound quality more quickly and efficiently. Finally, create an atmosphere of inspiration by using creative lighting and sounds to create an immersive experience for your listeners.
Creating an optimal sound studio may seem daunting, but with the right planning and research, it can be done affordably. By identifying necessary equipment, assessing your space, creating an acoustic environment, investing in quality audio gear, choosing appropriate monitors and speakers, selecting microphones and accessories wisely, setting up recording software correctly , soundproofing on a budget effectively , taking lighting into account during setup , organizing cables and wires neatly to maximize efficiency automation technology impartially for better performance and lastly – create an atmosphere of inspiration – you will be able to build a great sounding studio.
Achieving professional results from home is no longer out of reach. To help you in this process we recommend checking out our other content related to creating the best sound studio for your needs.
