If you’re like me, you’ve probably had the experience of recording audio only to find out later that it sounds terrible. Whether it’s an interview for a podcast or a video, bad audio can ruin everything.
We have come up with a list of simple tips for how to fix bad audio recording attempts. Luckily, there are a few simple things you can do to fix it. In this post, I’ll share some of my favorite tips for fixing bad audio recordings.
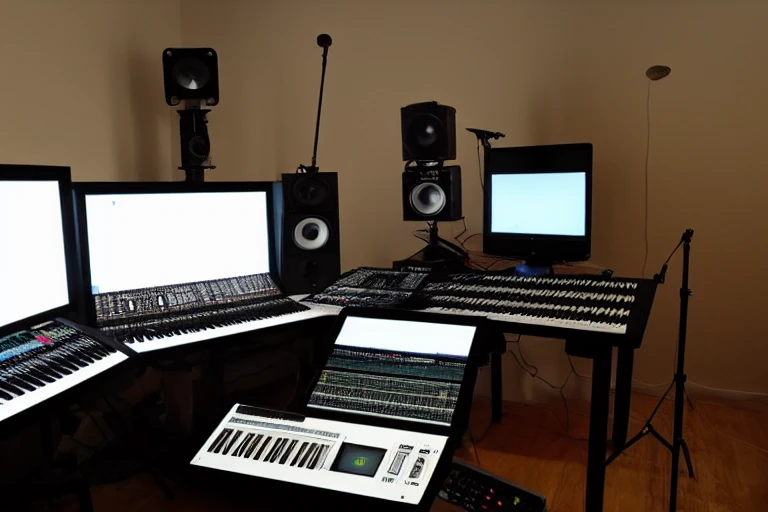
Check your recording environment
If you’re experiencing audio issues with your recordings, it’s important to check your recording environment. This includes making sure that your audio equipment is working properly, as well as checking for any interference from other electronics in the area. If you can’t identify the source of the problem, you may need to have your recordings professionally cleaned.
Use a pop filter
A pop filter is a small, yet powerful tool that can help fix bad audio recording. When used properly, a pop filter can remove extraneous noise from your recordings, making them easier to listen to and improving the overall quality of your audio. Here are four tips for using a pop filter:
- Choose the right filter size: A large pop filter will likely end up removing more noise than necessary, while a small one may not do enough to improve your recording. Choose a filter size that’s comfortable for you to hold and works with the type of microphone you’re using.
- Get creative: Don’t be afraid to experiment with different types of filters – try using foam or paper instead of metal ones, for example. The key is to find something that eliminates unwanted noise but doesn’t damage your recordings in the process.
- Prep your recordings beforehand: Make sure everything in your environment – from the mic stand to the software you’re recording with – is perfectly clean before starting recording. This will help ensure poor audio quality isn’t due simply to poor recording conditions.
- Test out different filters: Once you’ve found a good fit for your filer and mic, give it a try on some sample recordings just to check whether it’s been effective in eliminating noise. If so, stick with it!
Get closer to the microphone
If the audio recording is poor, there are a few simple things you can do to improve the quality. First and foremost, use a pop filter. This will help to reduce noise and distortion in the audio signal.
Secondly, make sure that your microphone is placed in a good location. You should also adjust the level of your microphone if necessary. Finally, be prepared to edit the audio file afterward if necessary.
Use a directional microphone
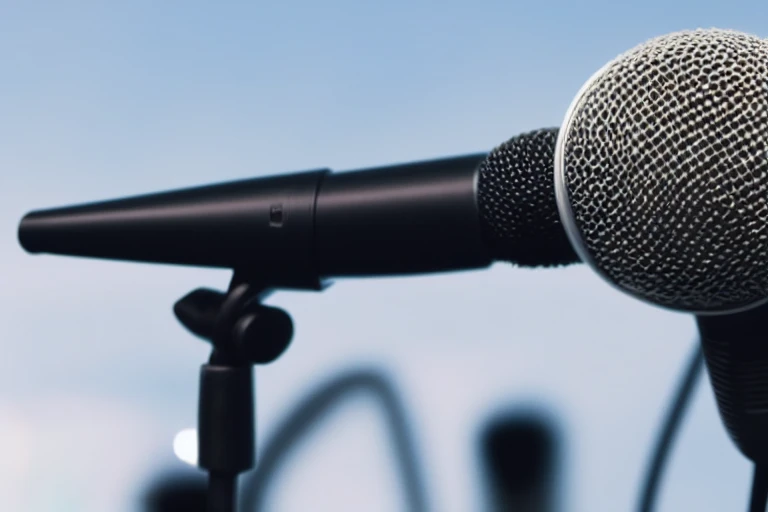
Check your microphone
A directional microphone is a great tool for recording audio that is clear and accurate. By pointing the mic in a specific direction, you can ensure that the audio is captured accurately. Additionally, by checking your microphone before recording, you can ensure that your audio is of high quality.
To check your microphone, first, make sure that it is plugged into an outlet and your computer. Next, open up your audio software and click on the “Microphone” tab.
From here, you can see which mic is currently being used and whether or not it is directional. If it isn’t directional, you can purchase a directional mic to use with your recordings.
Once you have checked your microphone, make sure to position it in the correct direction. By doing this, you can ensure that your audio is captured accurately and that it sounds good.
Check your recording software
When sound is recorded, it enters the microphone and then moves through the audio cables to the recording software. Most problems with sound recordings can be solved by checking your hardware and software settings. Here are some tips for fixing common issues:
Get closer to the microphone – If you’re using a standard desktop mic, move closer to it so that the sound waves will hit it directly. This will improve your audio quality.
If you’re using a directional mic, make sure that it’s pointed in the direction of the voice or instrument you want to capture.
- Check your recording software settings – Make sure that your recording software is set up correctly. Usually, this includes specifying which device (microphone or speakers) you want to use, as well as the audio input and output ports.
- Check your audio cables – Make sure that the audio cables are connected properly. If one of the cables is damaged, it will affect the sound quality of your recording.
- Adjust your hardware settings – If you’re using a desktop mic, you can adjust the mic’s volume and gain. You can also try adjusting the mic’s position if it’s not pointing in the right direction.
- Check your audio quality – Once you’ve corrected any hardware or software issues, you can check your audio quality by playing back your recording. If it’s still poor, you may need to invest in a better microphone or recording software.
Check your recording device
If you’re having trouble getting good audio from your recordings, one solution is to use a directional microphone. This will help you get closer to the microphone, which will result in better sound quality.
Additionally, make sure your recording device is properly configured and functioning. If you’re using a computer, make sure your audio drivers are up to date and your audio hardware is compatible.
If you’re using a recorder, make sure the device is properly plugged in and has enough memory.

Use a windscreen
When it comes to audio recording, it’s important to have good quality. However, sometimes bad audio can happen. Here are some tips for fixing bad audio recordings.
-
Check your recording device. Make sure that your device is properly plugged in and that the batteries are fully charged. If you’re using a microphone, make sure that it’s properly attached to your device.
-
Check your audio levels. Make sure that your audio levels are set correctly on your device. Too high of an audio level can cause distortion in your recordings, while too low of an audio level can cause noise.
-
Check your microphone settings. Make sure that your microphone is properly attached to your device and that the mic is turned on. Improper mic settings can cause distortion in your recordings.
-
Check your voice quality. Make sure that you’re speaking clearly and without distortion. If you’re having trouble with voice quality, try using a different microphone or speaking into a windscreen to reduce background noise.
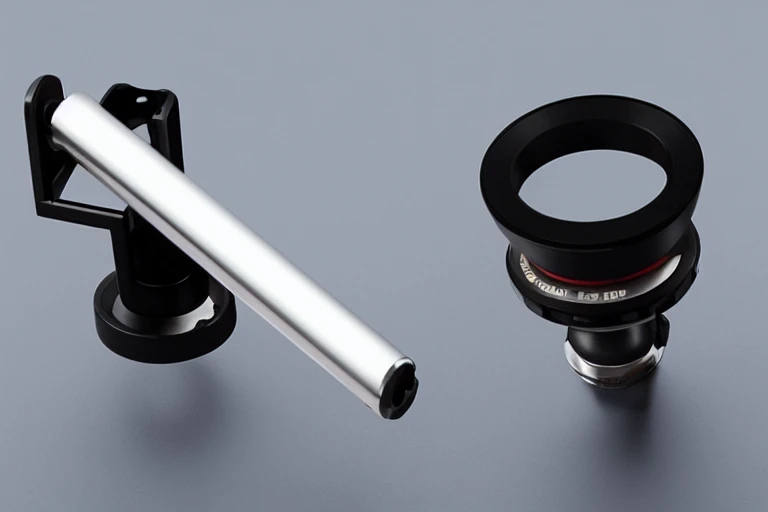
Use a shock mount
Shock mounts are a great way to fix bad audio recordings. By mounting your microphone on a shock mount, you can reduce the amount of movement and noise in your audio recording. Shock mounts also help to stabilize your microphone, making it less likely to move during recording.
Use acoustic treatment
If you’re recording audio and there’s significant background noise, you can use acoustic treatment to reduce or eliminate it. Acoustic treatment is designed to absorb sound, so you can noticeably reduce unwanted background noise when capturing voice or music recordings. Some common treatments include using a microphone shock mount and using room acoustics software.
Check your levels
Check Your Equipment
Audio quality is important when recording, and the level of your audio can often be improved by using acoustic treatment. When checking your levels, make sure to listen to the whole recording – not just the sections that were recorded at a higher volume.
Additionally, make sure all equipment was set up properly and is working correctly. With these tips, you can hopefully improve your audio recordings!
Get Close to the Microphone
When recording audio, it is important to make sure the levels are correct in order to get a good recording. If the levels are off, the audio will be distorted and will not sound as good. There are a few simple steps that can be taken to check your levels and get them correct.
The first step is to get a meter. This can be found at most electronics stores or online. Once you have the meter, you can use it to measure the levels of each track in your audio recording. Make sure that all tracks are at the same level so that the audio is not distorted.
Another way to check your levels is to get close to the microphone. When you are recording, make sure that you are as close to the microphone as possible. This will help to ensure that the levels are correct and the audio will be distortion free.
Use a cardioid or bidirectional microphone
One common issue with audio recordings is poor Audio tracking. This can be caused by incorrect levels, which can be corrected using a few simple tips.
Start by calibrating your recording equipment. Levels should be adjusted according to the particular needs of the audio track being recorded, such as voice or music. Use a mic preamp if needed and make sure all channels are properly balanced before starting to record.
A cardioid microphone will pick up sound more centrally while a bidirectional microphone will spread the sound out in two directions. Experiment until you find an optimal setup for your specific project.
Once calibration is complete, it’s time to deal with bad audio recordings themselves…
If the voice has been lost in the background noise, turn down the overall level of the audio track. If dialogue is difficult to understand, raise the levels of the dialogue track. If the sound is choppy or distorted, try lowering the volume and increasing the quality of the audio track.
There are a few other simple tips that can be helpful in fixing bad audio recordings:
- Make sure your microphone is plugged into a power source and switched on.
- Make sure there are no obstacles between the microphone and the speaker.
- Try using a windscreen if necessary.
Use a noise gate
Noise gates are great for cleaning up audio recordings. They can be used to reduce background noise or clipping, and can also be used to correct microphone knockouts or other distortions in your audio.
There are a few things you need to know before using a noise gate:
- The volume of the gate should be adjusted according to the output level of your recorder (the higher the number, the louder the signal will be).
- To avoid distortion, make sure that the input signal is within 0 dB of the maximum allowable level (maintaining this level ensures consistent performance from gate to gate).
- It’s important not to use a noise gate too frequently; overuse could lead to degradation in sound quality.
Use a compressor
Check the Levels
In the world of audio recording, one of the most important tools you can use is a compressor. A compressor smooths out sound waves and makes them more evenly amplified, which can help to improve your recordings’ overall quality. Here are three simple tips for using a compressor:
- Make sure the levels are correctly set up. To get the most from your compression, make sure that the input and output levels are matched correctly. This means that you’ll need to adjust both your microphone or playback device’s gain as well as your compression software’s threshold (threshold setting).
- Experiment with different settings. In order to find what works best for you, try varying your compression settings – from low to high – to see what produces the best results.
- Don’t be afraid to experiment. Like many other aspects of audio recording, the effectiveness of compression varies depending on the type of material you’re working with. There’s no one “right” way to use a compressor; it’s up to you to find what works best for your specific project.
Check for unwanted noise
One of the most common causes of bad audio recording is unwanted noise. This can come from a number of sources, such as wind, pets, or people talking in the background.
To fix this, you’ll need to use a noise gate to block out the noise and then use a compressor to reduce the volume of the unwanted noise. You can also try using a soundproofing material to reduce sound from entering the room where the audio recording is taking place.
Edit the recording in post-production
If you’re experiencing poor audio quality, there are a few things you can do to fix it in post-production. First, use a noise gate to reduce background noise. This will help to improve the clarity of your recordings. Next, use a compressor to smooth out the peaks and valleys in your audio signal.
This will help to reduce distortion and make your recordings sound more consistent. Finally, edit the recording in post-production to adjust volume levels and balance the sound between speakers. By doing these simple adjustments, you can greatly improve the audio quality of your recordings.

Use EQ
Check your recording devices
Audio quality is an important factor in any video or audio production. If your recording devices are not of high quality, the audio will be affected. There are a few simple steps you can take to improve the audio quality of your recordings.
-
Check your recording devices. Make sure that your audio devices are of high quality and that they are properly plugged into your computer. If you are using a microphone, make sure that it is properly placed and that the audio cable is long enough. If you are using a recording device such as a digital recorder, make sure that the device is properly plugged into your computer and that the battery is fully charged.
-
Edit the recording in post-production. If your recordings are not of high quality, you can edit them in post-production to improve the audio quality. In post-production, you can use EQ (equalization) to adjust the levels of different frequencies in your recording. You can also use compression and noise reduction techniques to make your recordings more clear and smooth.
Export your audio properly
When you’re recording audio, make sure to export the file properly. This means using a format that your recorder can understand and taking care of when converting your audio to different formats. For best results, try exporting to an MP3 or WAV format.
If you’re recording audio and not getting the results you want, try following these simple tips. First, check your recording environment and make sure it’s conducive to good sound quality. Then, use a pop filter or windscreen to help reduce unwanted noise.
Next, get closer to the microphone and use a directional microphone if possible. Also, be sure to use acoustic treatment and check your levels before you begin recording. Lastly, use a noise gate or compressor to help control the audio signal and EQ to improve the sound quality.
If you follow these tips, you should be able to produce many better-sounding recordings. For more helpful information on audio recording, be sure to check out our other content.
Wrapping Up: Simple Tips for How To Fix Bad Audio Recording
We have put a lot of details into this article, and we hope that you can now put bad recordings back in shape, and get the results that you are after. Feel free to browse our entire catalog if you have any other burning questions about your musical journey, be it recording or performing.
