If you’re anything like me, you’re probably obsessed with taking videos on your iPhone. And why wouldn’t you be? The cameras on these bad boys are incredible! But one thing that can be frustrating is when the audio isn’t clear. In this post, I will share tips for getting voice clarity on your iPhone videos.
- The Importance of Voice Clarity in Videos
- Tips for Capturing Clear Audio When Recording Video on Your iPhone
- Ways to Improve the Sound Quality of Your Existing Videos
- How to Avoid Common Mistakes That Cause Poor Audio Quality
- The Benefits of Using an External Microphone
- Tips for Shooting High-Quality Video Without Professional Equipment
- Lowering the Background Noise in Your Videos for Greater Clarity
- How Do You Get Voice Clarity on a Video on iPhone?
The Importance of Voice Clarity in Videos
Voice clarity is arguably one of the most important aspects of a good video. If viewers can’t understand what the speaker is saying, the video will be difficult to follow and ultimately less enjoyable to watch. Fortunately, there are a few tips you can use to improve voice clarity on your iPhone videos.
First and foremost, make sure your audio levels are properly adjusted. Too high of a volume can interfere with speech and cause it to become hard to hear. Conversely, too low of a level can give video quality problems like choppy playback or garbled dialogue. To start, open the Settings app on your iPhone and tap on Sound under the General category. From here, you’ll have access to adjust both the volume and EQ settings for all apps running in background mode (including videos).
Second, ensure that subtitles are enabled for your videos. This will allow other viewers who don’t know English to understand what’s being said without having to strain their ears or translation software. Again, this option can be found in the Settings app under the General category by tapping Subtitles followed by Language & Region sub-category, where you’ll find an option called “Subtitle Options.”
Simply tap on Enable Subtitles next to the Videos section so that subtitles appear when recording or playing back videos in HD mode (1080p). Finally, optimize your pronunciation if possible – mistakes do abound in spoken language, after all! However, over pronouncing words may lead viewers off track since they won’t be able to decipher written sentences correctly either way! Instead, try incorporating cues into your delivery, such as looking directly at the person speaking while emphasizing key phrases with body movement or facial expressions.
Tips for Capturing Clear Audio When Recording Video on Your iPhone
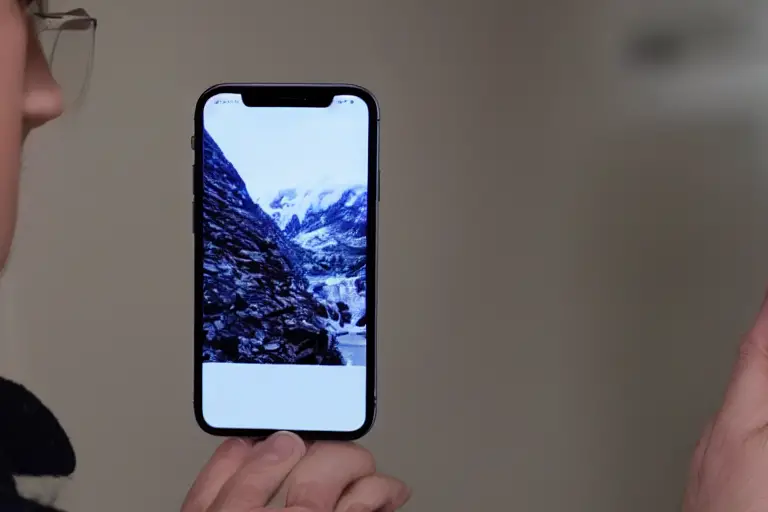
If you’re looking to capture clear audio when recording videos on your iPhone, there are a few things you can do to help. First, make sure your phone is properly placed in your hands and that the microphone is facing your mouth. Second, make sure your video settings are set to “auto-level” or “manual.” Finally, use a noise-canceling headset, if possible, to reduce background noise.
Ways to Improve the Sound Quality of Your Existing Videos
Thankfully, iPhone users have a few simple tricks to improve the sound quality of their existing videos. First and foremost, make sure your audio is captured in high quality by using a good microphone. Next, ensure your video settings are set to capture optimal audio levels. Finally, use verbal cues and background music to help create an immersive experience for viewers.
How to Avoid Common Mistakes That Cause Poor Audio Quality
When shooting videos on your iPhone, it’s important to ensure the audio quality is good. Here are a few tips to help you avoid common mistakes that can cause poor audio quality.
-
Use a good microphone: The best way to get good audio quality is to use a good microphone. If you don’t have one, try using a microphone that comes with your iPhone or buy one separately.
-
Use the correct settings: When you’re shooting videos, ensure you’re using the correct settings. You can find these settings in the “Settings” app on your iPhone.
-
Use headphones: When you’re shooting videos, always use headphones to get the best audio quality. This will help to avoid background noise and distortion.
-
Shoot in landscape mode: When you’re shooting videos, try to shoot them in landscape mode. This will help to keep the video balanced and look better on your screen.

The Benefits of Using an External Microphone
There are many benefits to using an external microphone when recording or filming videos on your iPhone. External microphones provide better audio quality than the built-in microphone, which can result in a crisper, clear sound. Additionally, external microphones are often more affordable than professional recording equipment, making them a great option for amateur filmmakers and video bloggers.
Tips for Shooting High-Quality Video Without Professional Equipment
Since smartphones have become ubiquitous, many people are now shooting videos without professional equipment. While it’s not always possible to achieve the same quality as with a professional camera, there are plenty of tips and tricks that can help you get great footage without breaking the bank. Here are four ways to improve your iPhone video quality:
*Use an External Microphone*
If you want great sound in your videos, you’ll need to use an external microphone. This will give you better clarity and damage resistance than what comes built into most smartphones, making it perfect for shoots where drop or water damage is a concern.
When shopping for an external mic, consider budget and quality options. Some of the best microphones on the market start at around $40 and can provide excellent results. However, if you have more money, consider the Rode VideoMic Pro, which has a wider frequency range and better noise-cancellation features.
Shoot in 4K or Higher Resolution
If you’re serious about getting top-quality video out of your smartphone, shooting in 4K or higher resolution is a must-do! Not only does this provide noticeably smoother footage than 1080p resolution (which most phones default to), but it also takes up less storage space on your device, so you won’t run out of room quickly if you decide to make videos longer than 10 minutes in length.
If 4K isn’t your thing, don’t worry – many smartphones now support recording at much higher resolutions, such as 2160p. Just be aware that not all apps support high-resolution recording yet, so check before starting a shoot.
Shoot In Manual Mode Instead Of Auto Mode
Many iPhone shooters mistakenly opt for auto mode instead of manual when they first start raising their phone to take videos – this generally leads to blurry footage because iPhones tend to try to adjust shooting parameters automatically based on what’s being seen in front of the lens rather than relying on user input. To get great results with manual mode, learn how to adjust shutter speed, ISO, white balance, focus points, aperture, and other settings yourself. Doing so will give you control over exactly how your video looks and avoids any accidental blur caused by iOS ‘ automatic camera tweaking.

Lowering the Background Noise in Your Videos for Greater Clarity
If you want to increase the clarity and overall quality of your videos, one way to do that is by reducing background noise. This can be done in a few different ways, some of which are outlined below.
First and foremost, make sure your camera is set up properly. If you’re using a phone or webcam with a built-in mic, ensure it’s turned on and equidistant from your subject and the background. Likewise, if you’re using a separate microphone or recorder, ensure it’s plugged in and properly positioned relative to your subject and the background.
Next, try using less light when recording video. Obviously, this will require more careful camera positioning so as not to include too much-unwanted light in your shots. However, achieving a darker recording also helps reduce background noise because there are fewer sources of noise present (other than what’s being spoken). You can also use filters or apps like Lightroom Mobile for Mac/PC to boost shadows and minimize ambient light before editing.
Finally, keep in mind that voice clarity partly depends on how noisy the environment around the speaker is. If many other people are talking at once or if there’s significant traffic noise outside – both of which tend to be high levels of background noise – then speaking into your iPhone or iPad microphone will sound considerably worse than usual due to all of the extra commotion.
Consider shooting video indoors where background noises aren’t as prevalent or filming on location where possible instead.
If you’re looking to improve the audio quality of your iPhone videos, be sure to check out our other articles for more tips and tricks.
How Do You Get Voice Clarity on a Video on iPhone?
In conclusion, achieving clear and crisp audio in your iPhone videos is an important aspect of creating high-quality content. By following the tips outlined in this article, such as using a microphone, finding the right recording environment, and adjusting the audio settings on your iPhone, you can improve the sound quality of your videos and ensure that your voice is heard clearly.
Additionally, by paying attention to other factors, such as background noise and vocal projection, you can further enhance the overall audio quality of your videos. By taking the time to focus on these aspects, you can create videos that are engaging and enjoyable for your audience to watch.
