Have you ever found yourself tapping your feet to a catchy beat, wondering how it was made? If you’ve ever had the desire to create your own music but don’t know where to start, this guide is for you. With the advancements in technology, creating your own beats has never been easier – especially on an iPad. In this post, we’ll cover everything you need to know about music production on iPad, from the best apps to use to tips and tricks for creating professional-sounding beats. So grab your headphones and let’s dive into the world of music production!
Table of Contents
Introduction: Why Choose iPad for Music Production?
Music production on iPad has become increasingly popular in recent years, with many musicians and producers turning to the tablet as a versatile and portable tool for creating beats and tracks. The iPad offers a range of music production apps that can rival desktop software in terms of functionality and sound quality.
One of the main advantages of using an iPad for music production is its touch screen interface, which allows for intuitive control over virtual instruments and effects. Additionally, the iPad’s portability means that you can create music anywhere, whether you’re on the go or relaxing at home.
Another benefit of music production on iPad is the ability to easily share your work with others. With cloud-based storage options and virtual collaboration tools, it’s easier than ever to collaborate with other musicians and producers from around the world.
Whether you’re a seasoned producer or just starting out, music production on iPad offers a unique and exciting way to create music. In this guide, we’ll explore some of the best apps and techniques for making beats, synthesizing sounds, recording tracks, adding effects, collaborating with others, and protecting your work.

Choosing the Right Music Production App for Your Needs
When it comes to music production on iPad, there are a plethora of apps available for various needs and skill levels. It is important to consider what you want to achieve with your music before choosing an app. For beginners, Garageband is a great place to start. It offers a variety of instruments, effects, and features that will help you get comfortable with the basics of music production.
For more advanced users looking for professional-level software, Auria Pro may be the way to go. This DAW (digital audio workstation) app provides a full suite of recording and mixing tools including MIDI sequencing capabilities.
Other popular options include BeatMaker 3 which specializes in creating beats with its drum machine interface and MPC-style sampler; or Korg Gadget which contains over 30 virtual synthesizers and drum machines.
Ultimately, choosing the right app depends on your individual goals and preferences for making music. Do some research on different apps available-try out free trial versions if possible-to find one that fits your specific needs as a producer.
Beat-Making Basics: Building Rhythms on Your iPad
Creating beats on your iPad is easier than ever with the wide range of music production apps available. To get started, choose an app that suits your needs and budget. Once you have your app, it’s time to start building your rhythm.
Begin by selecting a drum kit or individual drum sounds from the app’s library. Then, use the app’s sequencer to program your beat by placing notes on a grid. You can adjust the timing and velocity of each note to create a unique rhythm.
To add variation to your beat, try using different drum sounds or adding fills and accents. You can also experiment with different time signatures and tempos to create a more complex rhythm.
Remember to keep your beat simple and focused, as too many elements can clutter the mix. With practice and experimentation, you’ll be able to create professional-quality beats right from your iPad.

Synthesizing Sounds and Creating Samples on iPad
One of the most exciting aspects of music production on iPad is the ability to create unique sounds and samples using synthesizers. With apps like Korg Gadget and Animoog, you can create everything from classic analog synth sounds to futuristic digital tones.
Experiment with different waveforms, filters, and modulation options to craft your own signature sound. You can also use the iPad’s built-in microphone to record samples from your environment or instruments, then manipulate them using apps like iMaschine or BeatMaker 3.
Don’t be afraid to get creative and try new things. Layering multiple synths and samples can lead to unexpected but exciting results. And with the iPad’s touch interface, you have a level of control over your sound that traditional hardware setups can’t match.
Once you’ve created your sounds and samples, save them as presets so you can easily access them in future projects. With a little experimentation and creativity, you’ll be able to craft unique sounds that set your beats apart from the rest.
Recording and Layering Tracks in Your DAW App
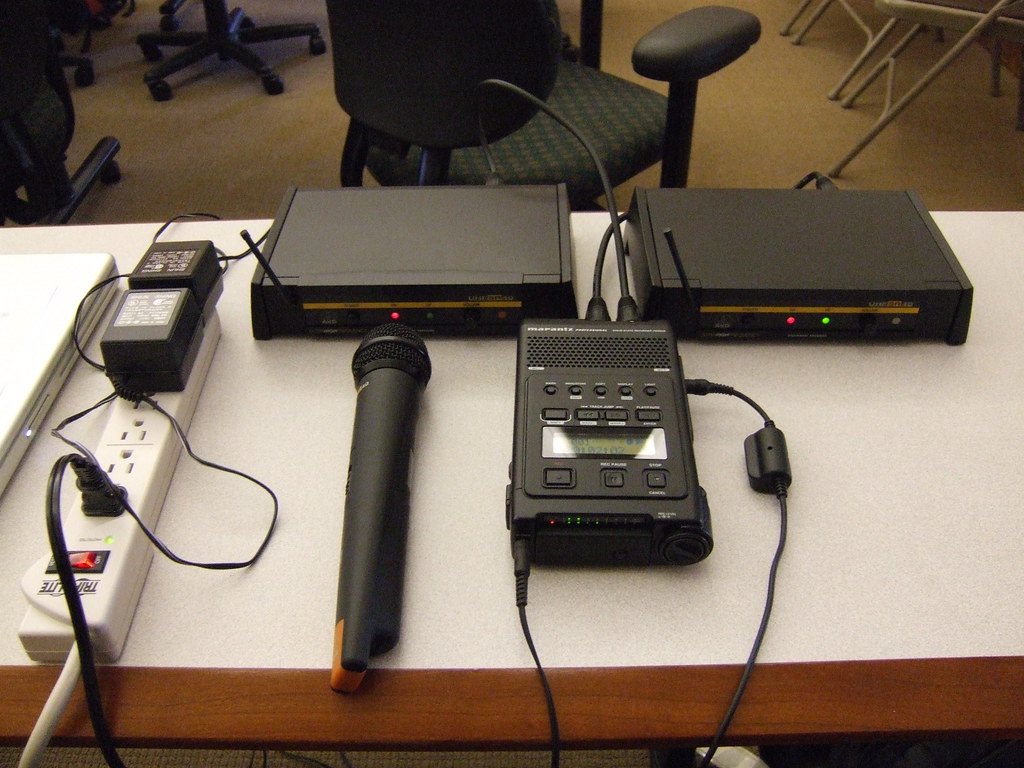
Once you have created your beats and synthesized sounds, it’s time to start recording and layering tracks in your digital audio workstation (DAW) app. First, choose the right DAW app for your needs. Some popular options for iPad include GarageBand, Cubasis 3, and BeatMaker 3.
When recording, make sure to use a high-quality microphone or audio interface to capture the best sound possible. Take advantage of the multi-track capabilities of your DAW app by recording each instrument or sound on a separate track. This allows you to adjust the levels and effects of each track individually, giving you more control over the final mix.
Once you have recorded all of your tracks, it’s time to start layering them together. Experiment with different combinations of sounds and instruments to create a unique and dynamic beat. Use features like copy/paste and looping to save time and create consistency throughout your track.
Remember to save your project frequently as you work, and consider backing up your files to a cloud storage service like iCloud or Dropbox for added security. With these tips in mind, you’ll be well on your way to creating professional-quality beats on your iPad.

Adding Effects, Filters, and Transitions to Enhance your Sound
Once you’ve got your beat and sound selection just right in your DAW app, it’s time to add some polish! Effects like reverb, delay, distortion and compression can really bring out the best in your sounds. There are many great effect apps available for iPad that can be easily integrated into your workflow.
Filters and transitions can help smooth out any rough edges between different parts of your track or give them a unique character. Experiment with automating filter cutoffs or using risers and falls to create tension or release.
It’s important not to get carried away with effects though – too much processing can quickly muddle up a mix. Use them sparingly but effectively, always keeping the end result in mind.
Taking the time to refine all aspects of your production will take it from sounding good to professional-grade!
Mastering Tips to Optimize Audio Quality on Your Released Beats
Once you have your beats recording and layered, it’s time to add the finishing touches. Mastering is the process of making sure that your tracks have a polished and cohesive sound, ready for distribution or upload online.
Firstly, make sure you are in a quiet environment without any background noise or interruptions as every detail matters during this stage. Use EQ to balance out frequencies between instruments and avoid having them clash with each other within the mix. Consider using multiband compression if necessary.
Use professional mastering software like Ozone by iZotope or Adobe Audition which offer some excellent presets for different genres while also giving full control over effects like stereo widening, exciter or harmonic distortion tools.
Moreover, carefully check levels of each track ensuring they don’t clip (exceed 0dB) which can ruin quality drastically. Make sure all sounds are well balanced in terms of volume and panning especially when listening through speakers rather than headphones.
Lastly, always listen back several times on various systems/devices such as earbuds , laptop speakers etc..to confirm that your finished product still sounds great after being played anywhere possible

Collaborating with Other Musicians Using iPads & Virtual Networks
The Benefits of Collaborating with Other Musicians Using iPads
Collaborating with other musicians using iPads and virtual networks can greatly enhance your music production experience. By utilizing apps and software that allow for real-time collaboration, you can work with other musicians from anywhere in the world. This opens up a whole new world of possibilities for creating music and expanding your network. Not only does collaborating allow for fresh ideas and perspectives, but it also helps to build a community of like-minded individuals who share your passion for music production on iPad. With the ability to share files, record sessions, and communicate in real-time, collaborating on iPad has never been easier or more convenient.
Virtual Networks for Music Production Collaboration: A Comprehensive Guide
Collaborating with other musicians on music production through virtual networks has never been easier. With the rise of online collaboration tools and platforms, artists can now work together seamlessly from different locations across the globe. The key phrases here are “virtual networks” and “music production collaboration.” One popular option for collaborating virtually is to use cloud-based digital audio workstations (DAWs) that allow multiple users to access a project simultaneously. Other options include using online file-sharing services such as Dropbox or Google Drive, communication apps like Slack or Zoom, or even social media groups dedicated to music production collaboration. No matter which platform you choose, effective communication is crucial for successful virtual collaborations in music production on iPad!
Tips for Successful Collaborations on iPad Music Production Projects
- Communication is key: Use messaging apps or video conferencing to discuss ideas and share feedback in real-time.
- Share files efficiently: Use cloud storage services like Dropbox or Google Drive to share project files and ensure everyone has access to the latest version.
- Set clear deadlines: Establish timelines for each phase of the project and hold each other accountable to ensure timely completion.
- Use collaborative music production apps: Apps like Splice and BandLab allow multiple users to work on the same project simultaneously, making collaboration seamless.
- Be open-minded: Collaboration means working with others who may have different styles or ideas. Be open to trying new things and incorporating different perspectives into your project.
Best Practices for Sharing and Receiving Feedback on iPad-Produced Beats
When collaborating with other musicians using music production on iPad and virtual networks, it’s important to establish clear guidelines for feedback. When sharing your work, make sure your collaborators have the same apps or software you used to create the beats. This ensures that they can open and edit your projects seamlessly. For receiving feedback, encourage constructive criticism and suggestions rather than just praise or negative comments. Using cloud-based storage options like Dropbox or iCloud helps keep all project files organized in one location accessible by everyone involved in the collaboration process. Communication is key when working remotely; use video conferencing or messaging apps to communicate effectively throughout the project creation process.
Protecting your Work: Understanding Copyrights in Digital Music Production
Copyright Basics: What You Need to Know Before Creating Your Own Beats
Before diving into digital music production on iPad, it’s important to understand copyright basics. Copyright law protects original works of authorship, including musical compositions and sound recordings. It’s crucial that you obtain the necessary licenses for any samples or loops used in your beats and ensure that you have permission to use any copyrighted material. Music production on iPad makes it easy to access a vast library of sounds and samples, but users must be mindful of legal restrictions. Protecting your work also involves registering your copyrights with the appropriate organizations, such as ASCAP or BMI, so you can receive proper credit and compensation for your creations.
Protecting Your Work: How to Register Your Music for Copyright Protection
To ensure that your music is protected, you should register it for copyright protection. You can do this by going to the U.S. Copyright Office website and filling out a registration form. This will provide legal proof of ownership and prevent others from using your work without permission. It’s important to note that registering within three months of publication allows you to be eligible for statutory damages and attorney fees in case of infringement. Copyright protection is crucial when it comes to music production on iPad, as creating original content requires significant effort and creativity, making it vulnerable theft or unauthorized use if left unregistered.
Avoiding Copyright Infringement: Tips for Sampling and Using Royalty-Free Sounds
When creating beats on your iPad, it’s important to understand the legalities surrounding sampling and using sounds in your productions. To avoid copyright infringement, it’s crucial to use royalty-free sounds or create your own samples. There are many websites and apps that offer royalty-free sounds and loops for use in music production. Additionally, if you do choose to sample a copyrighted sound, make sure to obtain proper clearance or permission from the original creator. It’s also important to note that simply altering a sound does not necessarily make it legal to use. Always err on the side of caution and do your research before using any sounds in your productions.
Navigating the Legal Landscape: Understanding Fair Use and Creative Commons Licenses in Music Production
In music production on iPad, it’s essential to understand the legal implications of using copyrighted material. Fair use allows for limited use of copyrighted material without permission for purposes such as commentary and criticism. However, sampling someone else’s work without proper clearance or credit can lead to copyright infringement lawsuits.
Creative Commons licenses provide an alternative way for artists to share their work while retaining some control over how others can use it. Some licenses allow remixes and adaptations while others only permit non-commercial uses.
Always make sure you have the proper permissions before using any copyrighted materials in your productions or consider exploring creative commons-licensed content that suits your project needs.
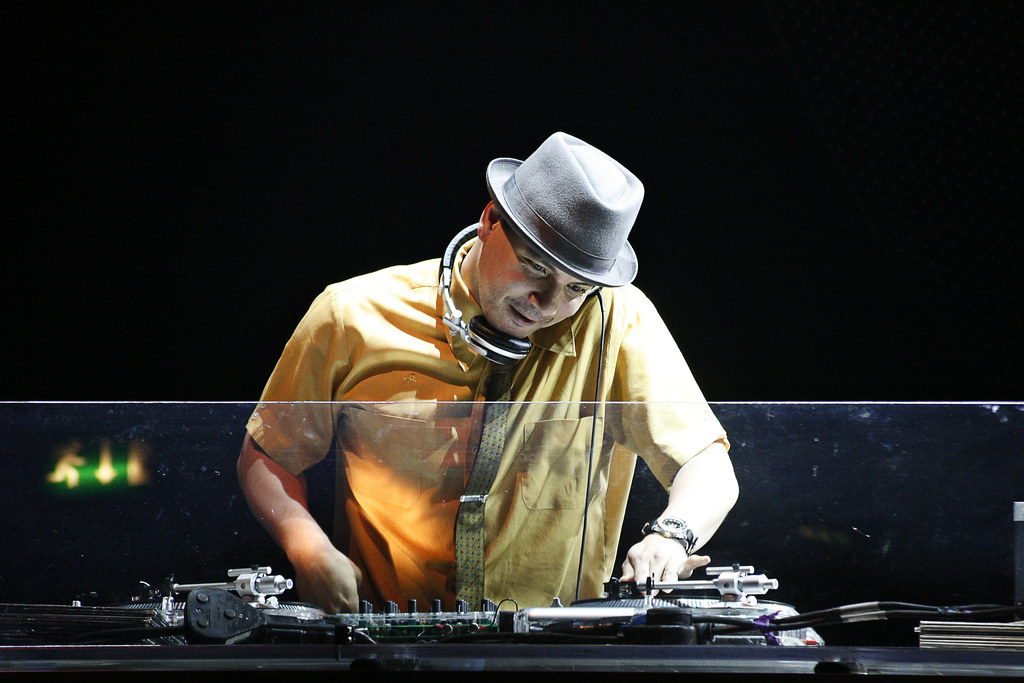
Tips From Top Pros-Top Ten Ways To Utilize an ipad For Mixing And Mastering
-
Use Multiple EQs: One of the biggest advantages of using an iPad app for mixing and mastering is that you can use multiple equalizers to fine-tune your sound. Utilize different EQ plugins in your DAW app to control certain frequencies, which will help in creating a clearer and more dynamic mix.
-
Pay Attention to Levels: Always keep a close eye on levels while mixing and mastering on your iPad. Maintain proper gain staging throughout all stages of production, especially when adding effects or filters, as this can make or break the quality of your final product.
-
Experiment with Effects: The range of available digital effects for use within an iPad music production environment is astonishingly wide-ranging, so don’t be afraid to experiment! Utilizing unique sounds always adds a great touch to beats.
-
Learn from the Pros : There are many top music producers who have found success in iPad-based music production- Study their methods, ask questions about technique via virtual networks, see what settings they use in their favorite apps – take any chance you get to learn from them!
-
Take Breaks/Ear Fatigue: It’s easy when working alone on headphones for extended periods to get ear fatigue; Remember taking periodic breaks every hour helps reduce ear fatigue allowing detail-oriented work resulting better audio output.
-
Focus On Mastering Techniques: Your ultimate goal after finishing mixes is applying various techniques such as stereo imaging ,y panning and multiband compression while making sure that everything translates well across various playback devices including mobile phones,laptops or even big speaker systems
-
Trust Your Ears : Don’t rely only on visuals like audio waveforms when editing off ipad software.Use those ears well for example listen through other speakers also before sending out final master track
-
CPU Optimization – Since most iPads have limited hardware resources it might pose some challenges during intensive projects like multiple tracks record or use of heavy plugins. Learn how to optimize your workflow and save CPU usage to ensure smooth performance during ongoing projects.
-
Get Feedback from Others: Always reach out for a second opinion on any track you’re producing, it helps in developing better ideas and most importantly – learning where improvements are needed.
-
Save Your Work Regularly- Last but not least, as with all devices make sure that you always save your work regularly as mishaps do happen – this saves the stress if anything goes wrong along the way!
In conclusion, music production on iPad offers a world of creative possibilities to aspiring artists and producers. With the right app and tools at your disposal, you can create professional-quality tracks anywhere you go. Whether you are an experienced musician or just starting out, taking advantage of this technology can help elevate your sound to the next level.
We hope this guide has provided helpful insights into the world of music production on iPad. If you want to learn more about producing music using mobile devices or other aspects of audio engineering and performance, make sure to check out our other content.
Don’t forget that with dedication, passion, and a little bit of creativity – combined with the power of modern technology – anything is possible in today’s musical landscape!
Common Questions
Who can use an iPad for music production?
Anyone with an iPad and a passion for music can use it for production.
What apps are available for music production on iPad?
There are many apps available for music production on iPad, such as Garageband and BeatMaker 3.
How can an iPad be used for music production?
An iPad can be used for music production by using apps to create, record, and edit music.
What if I don’t have any prior music production experience?
Many music production apps on iPad offer tutorials and guides to help beginners get started.
How can an iPad compare to traditional music production equipment?
While iPad music production may have some limitations, it offers a portable and affordable alternative to traditional equipment.
What if I want to collaborate with others on my music projects?
Many music production apps on iPad offer collaboration features, allowing you to work with others remotely.
